

End of Lease Cleaning Tasks Often Missed by Tenants
End of Lease Cleaning Tasks Often Missed by Tenants
Moving out of a rental property can make it easy to focus on the obvious cleaning jobs while overlooking the smaller areas that can still affect the final inspection. Floors may be vacuumed, kitchen benches wiped and bathrooms cleaned, yet dust can remain in window tracks, grease can sit inside rangehood filters, and dirt can collect behind appliances.
These less noticeable areas are often the difference between a property that looks generally clean and one that has been properly prepared for handover.
A final inspection is not usually limited to the areas that are immediately visible. Depending on the property and tenancy arrangements, attention may also be given to cupboards, appliances, windows, doors, skirting boards, bathrooms, laundry areas and outdoor spaces.
This guide explains the cleaning tasks tenants most commonly forget and how to work through them before handing back the property.
Why Small Cleaning Tasks Are Easy to Miss
When people prepare to move, cleaning is often done alongside packing, furniture removal, utility changes and other moving responsibilities. This can lead to a quick clean of the most visible surfaces while less obvious areas are left until later.
Another common problem is that everyday cleaning habits do not necessarily cover the areas that need attention when a tenancy ends.
For example, a tenant may regularly wipe a kitchen benchtop but rarely remove and clean the rangehood filters. A bathroom may be cleaned frequently, while the shower tracks or the area behind the toilet receives little attention.
The best way to avoid these oversights is to approach the property room by room rather than relying on memory.
It is also useful to compare the property's condition with the original condition report and check the tenancy agreement for any specific cleaning requirements.
Kitchen Cleaning Tasks Tenants Often Forget
The kitchen usually contains several areas where grease, food residue and dust can build up over time. Cleaning the main surfaces is only part of preparing the room for handover.
1. Inside the Oven
The oven can accumulate baked-on grease, food residue and carbon deposits even when it appears reasonably clean from the outside.
Pay attention to:
-
Oven walls
-
Oven door
-
Door glass
-
Racks
-
Trays
-
Corners and edges
-
Areas around the seals
Allow enough time for stubborn buildup rather than leaving oven cleaning until the last few minutes before leaving.
2. Rangehood Filters
Rangehood filters are easy to overlook because they are positioned above eye level. They can collect a significant amount of grease during normal cooking.
Remove the filters where the appliance allows it and clean them according to the manufacturer's instructions.
The surrounding rangehood surface should also be wiped to remove accumulated grease and dust.
3. Inside Cupboards and Drawers
Cupboard interiors can contain crumbs, dust and food residue, particularly around corners and drawer runners.
Empty each cupboard and drawer completely before cleaning. Check the edges, handles, shelves and internal corners rather than cleaning only the front surfaces.
4. Behind and Under Appliances
Moving furniture and appliances can reveal areas that have not been cleaned for months.
Depending on what can safely be moved, check:
-
Behind the refrigerator
-
Under the refrigerator
-
Behind small appliances
-
Under removable kitchen appliances
-
Around appliance sides
-
Floor areas behind cabinets and appliances
Do not move heavy appliances if doing so could damage flooring, connections or the appliance itself.
5. Splashbacks and Wall Areas
Cooking can leave a fine layer of grease on splashbacks and nearby walls. These areas may look clean from a distance but become noticeably different when inspected closely.
Clean according to the surface material and avoid products that could damage painted or delicate surfaces.
Bathroom Areas That Are Commonly Overlooked
Bathrooms often require more detailed attention because moisture, soap residue and mineral deposits can accumulate in difficult-to-reach areas.
6. Shower Tracks
Shower tracks can collect hair, soap residue, dust and grime.
Run a suitable brush or cleaning tool through the tracks and remove loose debris before cleaning the surface.
7. Grout Lines
Tile surfaces may appear clean while grout lines remain discoloured.
Check the grout around:
-
Shower walls
-
Shower floors
-
Bathroom floors
-
Splashback areas
Some staining or discolouration may be permanent, so cleaning should not be confused with repairing damaged or permanently stained surfaces.
8. Around Taps and Tap Bases
Soap residue and mineral deposits commonly build up around tap bases and fittings.
These areas are small, but they are easy to notice when the rest of the bathroom is clean.
9. Behind the Toilet
The area around and behind the toilet is one of the less convenient parts of bathroom cleaning, which is why it is frequently missed.
Clean accessible floor areas, nearby surfaces and the exterior of the toilet according to the material and manufacturer's recommendations.
10. Exhaust Fan Covers
Bathroom exhaust fans collect dust over time.
If the cover can be safely removed, clean it according to the manufacturer's instructions. Make sure electrical components are kept dry and that power is isolated when required for safe cleaning.
11. Vanity Cupboards
Empty the vanity completely and check the shelves, corners, handles and inside surfaces for dust, hair and product residue.
Living Areas Need More Than Floor Cleaning
Once furniture has been removed, previously hidden marks and dust can become much more visible.
12. Skirting Boards
Skirting boards collect dust along their upper edges and corners.
Run a suitable cloth or cleaning tool along the entire length of the skirting, paying extra attention to corners and behind furniture locations.
13. Door Frames and Doors
Doors are often wiped at hand height while the surrounding frames are forgotten.
Check:
-
Door faces
-
Door edges
-
Frames
-
Handles
-
Around hinges
-
Areas near light switches
14. Light Switches and Handles
High-touch areas can show fingerprints, marks and accumulated grime.
Clean them carefully using methods suitable for the surface and electrical location. Avoid applying liquid directly to switches or electrical fittings.
15. Ceiling Fans
Ceiling fan blades can hold a surprising amount of dust.
Clean the blades carefully and check the surrounding ceiling area for cobwebs. Make sure the fan is switched off before cleaning.
16. Air Vents and Grilles
Dust can collect around air-conditioning vents and ventilation grilles.
Check both the visible surface and accessible surrounding areas. Filters should only be cleaned or replaced according to the appliance manufacturer's instructions.
Windows and Window Tracks Are Easy to Forget
Windows are often cleaned from the glass while the surrounding areas receive less attention.
17. Window Tracks
Window tracks can collect:
-
Dust
-
Insects
-
Hair
-
Sand
-
Small debris
Vacuum or remove loose material first, then clean the remaining residue using an appropriate method.
18. Window Sills and Frames
Check the entire frame rather than focusing only on the glass.
Pay attention to corners, drainage areas and edges where dust can accumulate.
19. Blinds and Curtain Rails
Blinds can collect dust across individual slats, while curtain rails may develop a layer of dust that is not immediately visible.
Use a suitable dusting or cleaning method for the material.
Bedrooms and Built-In Storage
Bedrooms can look finished once the floor has been vacuumed, but built-in storage areas often require additional attention.
20. Wardrobe Shelves
Empty wardrobes completely and wipe shelves, sides and corners.
Check the top shelf in particular because it can collect dust even when lower shelves are regularly used.
21. Wardrobe Tracks
Sliding wardrobe doors can leave dirt and dust inside the tracks.
Vacuum loose debris first and then clean the track carefully.
22. Built-In Storage
Check drawers, shelves and storage compartments for dust, hair and small items left behind.
The property should be checked carefully after furniture and personal belongings have been removed.
Laundry Areas Are Often Left Until the End
Laundry rooms may receive less attention because they are usually smaller, but they still form part of the property.
23. Around the Washing Machine
Check the floor, walls and accessible areas around the washing machine.
Remove lint, dust and other debris that may have accumulated around the appliance.
24. Laundry Sink and Cabinets
Clean the sink, taps, cabinet surfaces and internal storage.
Look around the tap base and edges where water residue can accumulate.
25. Floor Corners
Small laundry rooms often have tight corners that are difficult to reach with a normal mop or vacuum.
Use an appropriate tool to reach these areas.
Outdoor Areas Tenants May Forget
If outdoor areas form part of the tenancy, they should not automatically be excluded from the cleaning process.
26. Balcony Floors
Remove loose dirt, leaves and other debris from the balcony.
Check corners and areas around drains, while ensuring nothing is pushed into drainage systems.
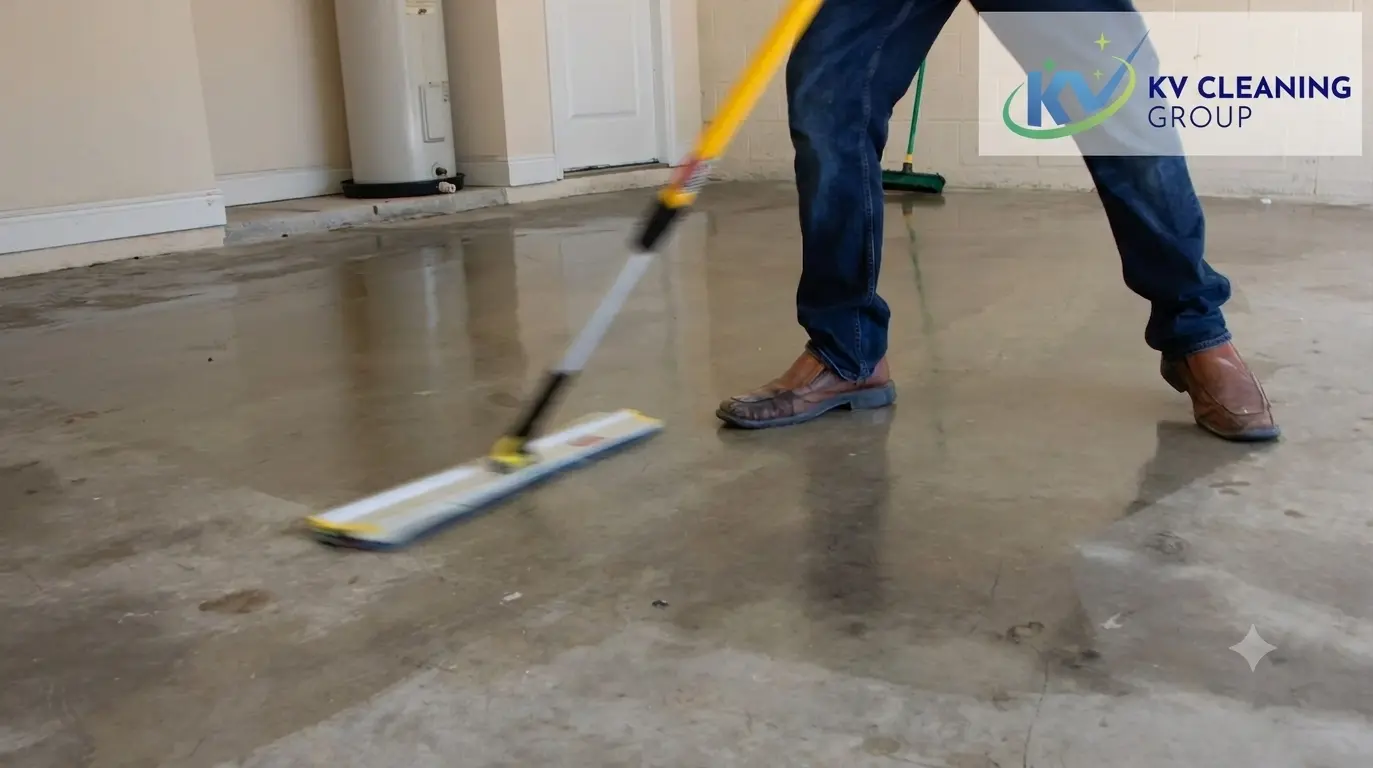
27. Garage Floors
Garages can accumulate dust, leaves, dirt and oil marks during a tenancy.
Remove personal belongings first so the floor and accessible surfaces can be properly checked.
28. Storage Areas
Storage cages, sheds or other included areas should be emptied and checked before handover.
Look for cobwebs, dust and items that may have been left behind.
29. Entry Areas
The front entrance is one of the first parts of the property a person sees.
Clean the accessible floor, door, frame, handles and surrounding areas where appropriate.
High-Touch Areas That Deserve a Final Check
High-touch surfaces are easy to overlook because they are small.
Before leaving, check:
-
Door handles
-
Light switches
-
Cabinet handles
-
Tap handles
-
Appliance handles
-
Remote-control areas
-
Frequently touched doors
-
Handrails
These areas can show fingerprints and marks even when the rest of the room has been thoroughly cleaned.
Cleaning Behind Furniture After Moving Out
One advantage of cleaning after furniture has been removed is that areas previously blocked become accessible.
Check locations such as:
-
Behind sofas
-
Behind beds
-
Behind cabinets
-
Under removable furniture
-
Behind tables
-
Along wall edges
This is one reason it is better to complete the detailed clean once the property is substantially empty.
What Tenants Should Check Before the Final Inspection
A final walk-through can help identify areas that were missed during cleaning.
Move through the property systematically instead of walking randomly from room to room.
Kitchen
Check the:
-
Oven
-
Cooktop
-
Rangehood
-
Cupboards
-
Drawers
-
Splashback
-
Sink
-
Taps
-
Floor
-
Areas around appliances
Bathroom
Check the:
-
Shower
-
Shower tracks
-
Grout
-
Vanity
-
Toilet
-
Tap bases
-
Mirrors
-
Exhaust fan
-
Floor
-
Corners
Bedrooms
Check the:
-
Wardrobes
-
Shelves
-
Tracks
-
Windows
-
Skirting boards
-
Floors
-
Doors
Living Areas
Check the:
-
Windows
-
Window tracks
-
Blinds
-
Doors
-
Frames
-
Light switches
-
Ceiling fans
-
Vents
-
Skirting boards
-
Floors
Laundry
Check the:
-
Sink
-
Cabinets
-
Taps
-
Appliance areas
-
Floor corners
Outdoor Areas
Check any included:
-
Balcony
-
Garage
-
Storage space
-
Entry area
-
Outdoor surfaces
When Professional Cleaning May Make Sense
Some tenants prefer to handle the cleaning themselves, while others may not have enough time to work through every room carefully before the final inspection.
If the property requires a detailed clean after furniture has been removed, reviewing professional end of lease cleaning support can help you understand what areas should be covered and how a room-by-room approach can be organised before handover.
The important point is not simply whether professional cleaning is used. What matters is that the property is checked systematically and that cleaning decisions are based on the actual condition of the rental, the tenancy requirements and the original condition report.
A Simple Final Cleaning Checklist
Before leaving the property, walk through each room and ask:
-
Have all personal belongings been removed?
-
Have floors been vacuumed and cleaned where appropriate?
-
Have cupboards and drawers been emptied and cleaned?
-
Have windows and window tracks been checked?
-
Have doors, frames and handles been cleaned?
-
Have kitchen appliances been checked internally and externally?
-
Have bathroom corners and fittings been cleaned?
-
Have wardrobes and storage areas been checked?
-
Have laundry areas been cleaned?
-
Have included outdoor areas been cleared and cleaned?
-
Have high-touch surfaces been checked?
-
Have previously hidden areas been inspected after furniture removal?
Taking a final walk through the property using a checklist is much less likely to miss small tasks than relying on memory.
Cleaning Tasks Are Easier to Miss When Moving Day Is Busy
Moving day creates pressure because several jobs happen at once. Packing, transporting furniture, cleaning and organising the handover can make it tempting to rush through the final clean.
A better approach is to separate the work into stages.
Start with areas that become accessible as belongings are removed. Complete the detailed room-by-room cleaning after the larger furniture has gone. Then perform a final inspection of the property in good lighting.
This approach gives you an opportunity to identify dust, marks, residue and overlooked areas before the property is handed back.
Final Thoughts
The cleaning tasks most often missed by tenants are not necessarily the largest jobs. They are usually the small, less visible areas that are easy to overlook during a busy move.
Window tracks, rangehood filters, cupboard interiors, wardrobe tracks, skirting boards, ceiling fans, shower tracks, areas behind appliances and high-touch surfaces all deserve attention.
A room-by-room checklist makes the process easier because it removes the need to remember every task while moving. It also allows you to compare the property's condition with the tenancy requirements and original condition report.
Most importantly, do not assume that a property is ready simply because the main surfaces look clean. Take a final walk through every room after furniture and belongings have been removed and check the areas that are normally hidden.
That final detailed check can help identify small cleaning tasks before the handover rather than discovering them later.
Get Free Quote


Frequently Asked Questions
Commonly missed areas include inside cupboards and drawers, window tracks, skirting boards, light fittings, behind appliances, exhaust fans, door frames, bathroom grout, and detailed kitchen surfaces. These areas may not be obvious during everyday cleaning but can become noticeable during a final inspection.
Yes. Kitchen cupboards and drawers should generally be checked and cleaned before handover, particularly if they contain crumbs, grease, dust, or food residue. Cleaning the inside as well as the outside helps ensure the kitchen is left in a presentable condition.
They can be overlooked easily, but dirt and dust often accumulate in window tracks, frames, sills, and corners. Tenants should check these areas as part of their final cleaning, especially where they were reasonably clean at the beginning of the tenancy.
Where access is safe and practical, areas behind or underneath movable appliances should be checked for accumulated dust, food particles, and other debris. Avoid moving heavy or fixed appliances if doing so could cause damage or create a safety risk.
Walk through the property room by room using the original condition report and your tenancy requirements as a reference. Check less visible areas such as corners, tracks, cupboards, fittings, skirting boards, and behind accessible furniture rather than focusing only on the main surfaces.